Corner Shower Installation
Welcome to Aberdeen Showers
Corner Shower Installation
About Corner Shower Installation
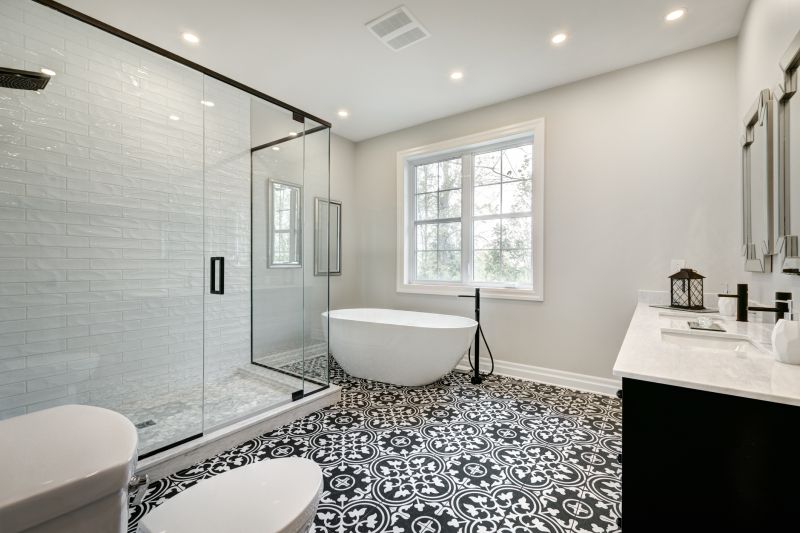
Corner showers are a popular choice for homeowners looking to maximize space in their bathrooms. They are designed to fit snugly into a corner, making them ideal for smaller bathrooms or for those who want to make efficient use of space. When considering a corner shower installation, there are several key factors to keep in mind to ensure a successful project.
One of the first considerations is the available space in the bathroom. It's essential to measure the area accurately to determine the size of the shower that can be accommodated. Corner showers come in various shapes and sizes, including neo-angle and square designs, which can influence the overall layout and flow of the bathroom.
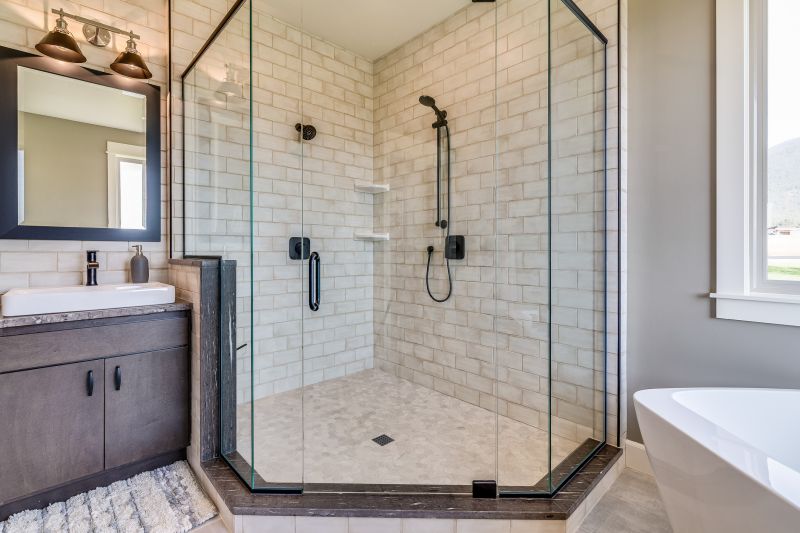
Material choice is another important decision. Common materials for corner showers include acrylic, fiberglass, and glass. Each offers different benefits in terms of durability, maintenance, and aesthetic appeal. Glass enclosures, for instance, can provide a sleek and modern look, while acrylic and fiberglass options might be easier to maintain.
Homeowners should also consider the type of door for the shower. Options include sliding doors, hinged doors, and bi-fold doors. Sliding doors can save space, while hinged doors might offer a wider opening. The choice largely depends on the available space and personal preference.
The shower base is another crucial element. It must be durable and waterproof to prevent leaks and water damage. Bases are available in various materials, such as acrylic or tile, and come in different shapes to match the shower enclosure. Proper installation of the base is vital to ensure longevity and functionality.
Plumbing considerations are also essential when planning a corner shower installation. The location of existing plumbing will influence the placement of the shower. It's important to ensure that the water supply and drainage are adequately addressed to avoid any future issues.
Ventilation is another factor to keep in mind. Proper ventilation helps prevent mold and mildew growth, which can be a concern in bathrooms. Installing an exhaust fan or ensuring there is adequate airflow can help maintain a healthy bathroom environment.
For those considering additional features, there are options such as built-in shelving, benches, or multiple showerheads. These can enhance the functionality and comfort of the shower but may require additional space and planning.
- Consider the available space for the shower.
- Choose the right materials for durability and style.
- Select a door type that suits the space and aesthetic.
- Ensure proper plumbing and ventilation are in place.
- Explore additional features for enhanced functionality.
Overall, corner shower installation involves several important decisions that can impact the final outcome. By carefully considering space, materials, plumbing, and additional features, homeowners can create a functional and aesthetically pleasing bathroom space.
Choosing the Right Materials for Corner Shower Installation
A Comprehensive Guide to Selecting Durable and Stylish Materials
When planning a corner shower installation, selecting the appropriate materials is crucial to ensure both durability and aesthetic appeal. Corner showers are a popular choice for maximizing space in smaller bathrooms, and the right materials can enhance the overall look and functionality of the space. This article explores various material options to consider when installing a corner shower.
First and foremost, the choice of shower base is fundamental. Acrylic bases are a common selection due to their lightweight nature and resistance to chipping and cracking. They are available in a variety of shapes and sizes, making them versatile for different bathroom layouts. Alternatively, stone resin bases offer a more luxurious feel and are known for their robustness and longevity.
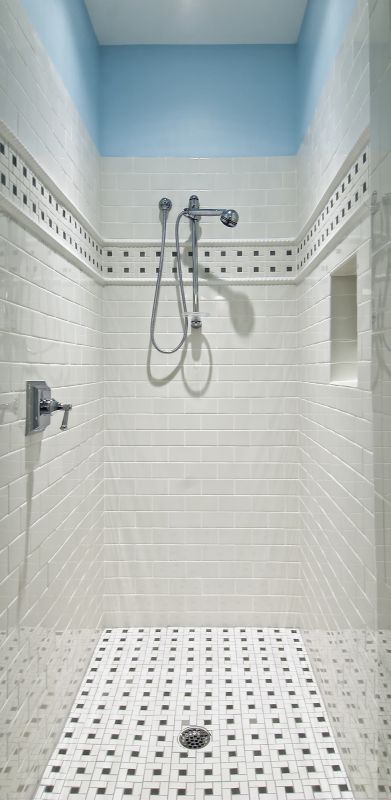
Another critical component is the shower wall material. Tiles remain a popular choice due to their vast array of styles, colors, and textures. Ceramic and porcelain tiles are well-loved for their water resistance and ease of cleaning. For those seeking a seamless look, solid surface panels can provide a modern and sleek appearance, with the added benefit of fewer grout lines.
Glass enclosures are essential for creating a sense of openness in a corner shower design. Clear glass is often favored for its ability to make the bathroom appear larger, while frosted or textured glass can offer additional privacy. It's important to select tempered glass for safety and durability.
When it comes to fixtures and fittings, materials like stainless steel and brass are excellent choices. These materials are not only resistant to corrosion but also add a touch of elegance to the shower space. Consider finishes that complement the overall bathroom design, such as brushed nickel or chrome.
In addition to primary materials, accessories such as shelving and storage are important considerations. Built-in niches can be tiled to match the shower walls, providing a cohesive look. Alternatively, glass or metal shelving can add a modern touch and are practical for holding toiletries.
- Acrylic shower bases for lightweight durability
- Ceramic or porcelain tiles for water resistance
- Tempered glass enclosures for safety
- Stainless steel or brass fixtures for a polished finish
Ultimately, the choice of materials for a corner shower installation should balance practicality with personal style preferences. By carefully selecting materials that complement each other, homeowners can create a beautiful and functional shower space that enhances their bathroom's overall aesthetic.
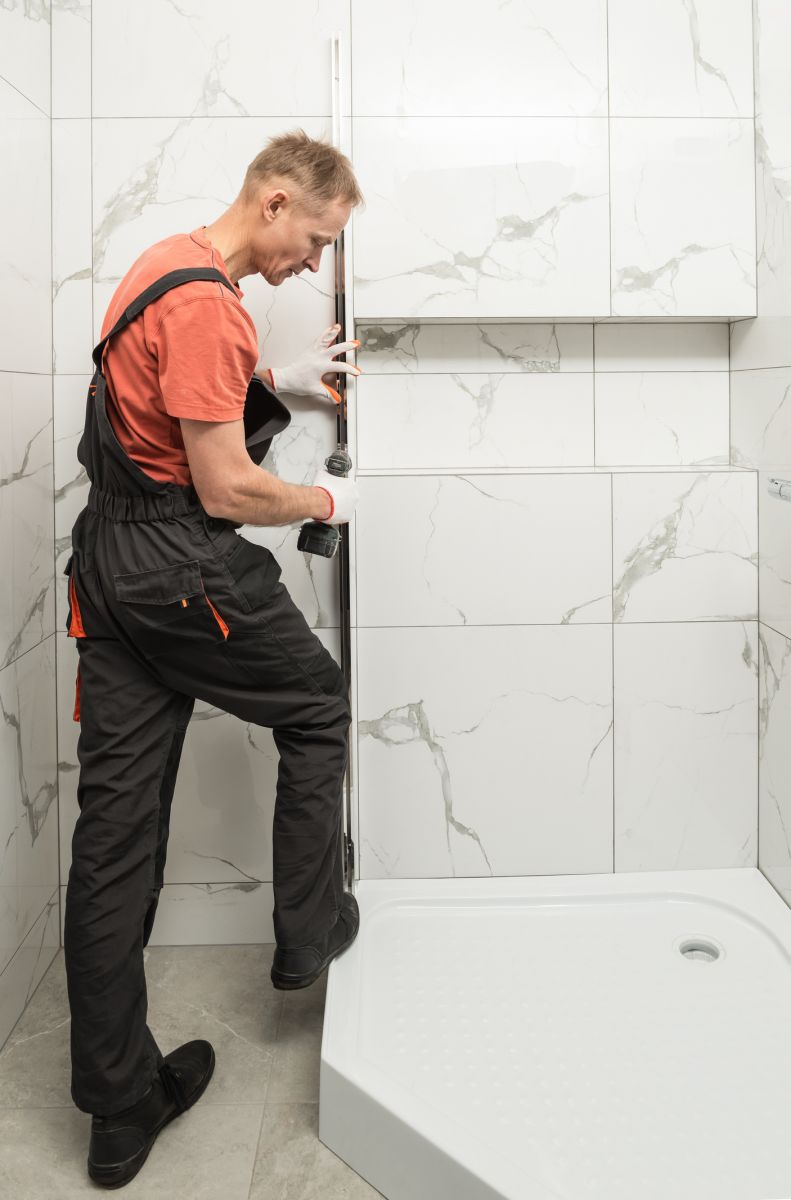
Step-by-Step Corner Shower Installation Process
Detailed Instructions for a Successful DIY Corner Shower Project
Installing a corner shower can be a rewarding project for homeowners looking to enhance their bathroom space. A corner shower not only saves space but also adds a modern touch to any bathroom. Before embarking on this project, it’s essential to gather all necessary materials and understand the process thoroughly. This article provides a detailed walkthrough of the corner shower installation process, ensuring a smooth and efficient setup.
The first step in installing a corner shower is to prepare the area. This involves removing any existing fixtures and ensuring the space is clean and free of debris. It’s crucial to measure the area accurately to ensure the new shower fits perfectly. Mark the dimensions on the wall and floor to guide the installation process. Proper preparation is key to avoiding any issues later on.
Next, focus on installing the shower base. Position the base in the designated corner, ensuring it is level. Use a spirit level to check this, as an uneven base can lead to water drainage issues. Once the base is in place, secure it according to the manufacturer’s instructions. This often involves using adhesive and screws to fix the base firmly to the floor.
With the base secured, it’s time to install the shower walls. Most corner shower kits come with pre-fabricated wall panels that fit together seamlessly. Begin by attaching the back wall panel, ensuring it aligns perfectly with the base. Follow with the side panels, securing them to the back panel and the base. Use waterproof sealant on all joints to prevent water leakage.
After the walls are in place, install the shower door. Corner showers typically feature sliding or hinged doors. Carefully attach the door frame to the walls, ensuring it is level and secure. Once the frame is in place, hang the door and test its movement. Adjust if necessary to ensure smooth operation and a tight seal when closed.
- Prepare the installation area thoroughly.
- Ensure the shower base is level and securely installed.
- Seal all wall panel joints to prevent leaks.
- Test the shower door for smooth operation.
Finally, connect the plumbing fixtures. Attach the showerhead, faucet, and any additional features according to the manufacturer’s instructions. Turn on the water supply and check for leaks. If everything is functioning correctly, your corner shower installation is complete. Enjoy the new addition to your bathroom, which combines functionality with a sleek design.