Shower Tile Installation
Welcome to Aberdeen Showers
Shower Tile Installation

About Shower Tile Installation
Shower tile installation is a popular home improvement project that can significantly enhance the aesthetic and functionality of a bathroom. Whether renovating an existing shower or designing a new one, choosing the right tiles and understanding the installation process are crucial steps. Homeowners should consider various factors such as tile material, size, color, and layout to create a visually appealing and durable shower space.
One of the first considerations in shower tile installation is the type of tile material. Common options include ceramic, porcelain, glass, and natural stone. Each material has its own characteristics and benefits. Ceramic and porcelain tiles are known for their durability and water resistance, making them ideal for wet environments. Glass tiles can add a unique, modern touch to a shower, while natural stone tiles provide a classic and elegant look.
Tile size is another important factor to consider. Large tiles can create a sleek, modern appearance and require fewer grout lines, which can make cleaning easier. Smaller tiles, such as mosaics, offer more design flexibility and can be used to create intricate patterns or accents. The choice of tile size often depends on the overall design vision and the dimensions of the shower space.
Color and pattern play a significant role in the overall design of a shower. Light-colored tiles can make a small shower space appear larger and brighter, while darker tiles can add a sense of depth and sophistication. Patterns such as herringbone, chevron, or subway can add visual interest and personality to the shower. Homeowners should select colors and patterns that complement the rest of the bathroom decor.
Grout color is another detail that should not be overlooked. While white grout is a classic choice, colored grout can be used to create contrast or to blend seamlessly with the tiles. It's important to choose a grout that is resistant to mold and mildew to ensure the longevity of the installation.
Waterproofing is a critical aspect of shower tile installation. Proper waterproofing prevents water damage and mold growth behind the tiles. This involves using a waterproof membrane or backer board before the tiles are installed. Homeowners should ensure that all necessary waterproofing measures are taken to protect their investment.
- Consider tile material: ceramic, porcelain, glass, natural stone
- Choose appropriate tile size and layout
- Select colors and patterns that complement the bathroom
- Ensure proper waterproofing and grout selection
- Plan for maintenance and cleaning
Finally, maintenance and cleaning are important considerations for shower tile installations. Some materials, like natural stone, may require special sealants and regular maintenance to preserve their appearance. Homeowners should be aware of the cleaning requirements of their chosen tile material to ensure it remains in pristine condition.
By carefully considering these factors, homeowners can achieve a beautiful and functional shower tile installation that enhances their bathroom and adds value to their home. With the right choices, a tiled shower can become a stunning focal point and a relaxing retreat within the home.

Choosing the Right Tiles for Your Shower
A Comprehensive Guide to Selecting Durable and Stylish Shower Tiles
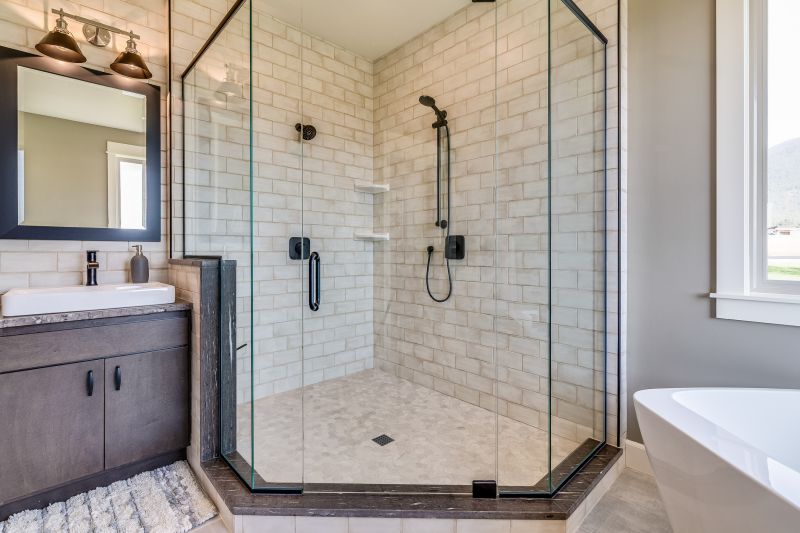
When designing or renovating a bathroom, selecting the right tiles for your shower is a crucial decision that impacts both aesthetics and functionality. With an array of materials, colors, and patterns available, the choice can be overwhelming. However, understanding the key factors to consider can simplify the process and ensure a satisfying outcome.
One of the primary considerations is the material of the tiles. Ceramic and porcelain tiles are popular choices due to their durability and water resistance. They are easy to clean and maintain, making them ideal for the humid environment of a shower. Natural stone tiles, such as marble or granite, offer a luxurious appearance but may require more maintenance to keep them in pristine condition.
Another important aspect is the size and shape of the tiles. Large tiles can create a seamless look and make a small shower appear more spacious, while smaller tiles or mosaics can add texture and interest. The shape of the tiles, whether square, rectangular, or hexagonal, also influences the overall design and can complement other elements in the bathroom.
Color and pattern are also vital in creating the desired ambiance in your shower space. Light-colored tiles can make the area feel open and airy, while darker tones can add warmth and coziness. Patterns, whether subtle or bold, can serve as a focal point and enhance the visual appeal of the shower.
It's also essential to consider the slip resistance of the tiles to ensure safety, especially in a wet environment. Look for tiles with a textured surface or a high slip resistance rating to minimize the risk of slips and falls. Additionally, grout lines should be sealed properly to prevent water infiltration and mold growth.
- Consider the material: ceramic, porcelain, or natural stone.
- Choose the right size and shape for your space.
- Select colors and patterns that match your style.
- Prioritize slip resistance for safety.
In conclusion, choosing the right tiles for your shower involves balancing practical considerations with personal style preferences. By focusing on material, size, shape, color, and safety, you can create a beautiful and functional shower space that enhances your bathroom's overall design. Take the time to explore different options and visualize how they will fit into your existing or planned decor for a harmonious and satisfying result.

Step-by-Step Guide to Installing Shower Tiles
Mastering the Basics of Shower Tile Installation
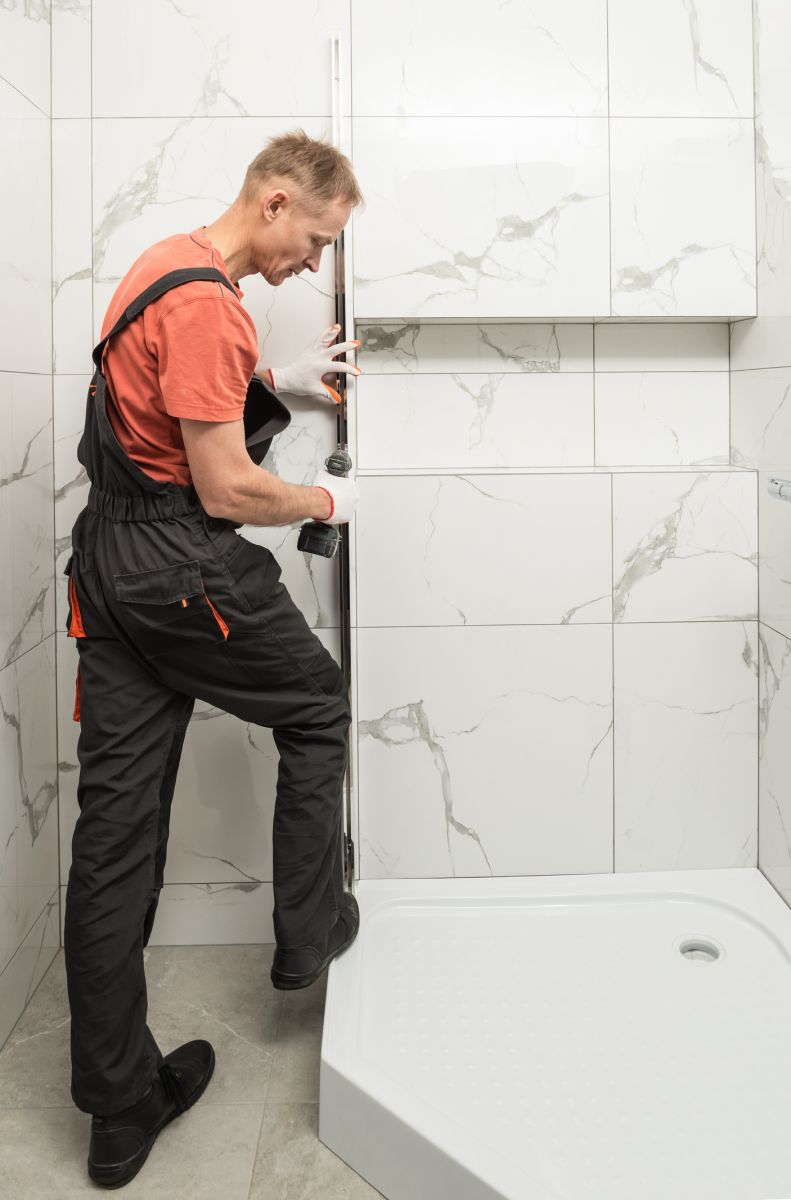
Installing shower tiles can transform a bathroom into a stylish and functional space. Whether you are renovating an old bathroom or building a new one, the right tile installation can make a significant difference. This guide provides a comprehensive overview of the steps involved in installing shower tiles, helping you achieve a professional finish.
Before beginning the installation process, it is crucial to gather all necessary materials and tools. Essential items include tiles, tile adhesive, a notched trowel, a tile cutter, spacers, a spirit level, and grout. Ensuring all materials are on hand will make the installation process smoother and more efficient.
The first step in the installation process is preparing the surface. The shower walls must be clean, dry, and free from any dust or debris. If the walls are uneven or damaged, consider applying a layer of cement backer board to provide a stable foundation for the tiles. This preparation stage is vital to ensure the tiles adhere properly and last for years to come.
Once the surface is ready, plan the tile layout. Start by measuring the shower walls and marking the center point. This will help ensure the tiles are symmetrical and visually appealing. Dry-fitting the tiles on the floor before adhering them to the walls allows for adjustments and helps visualize the final result.
With the layout planned, begin applying the tile adhesive to a small section of the wall using a notched trowel. Press each tile firmly into the adhesive, placing spacers between them to maintain even gaps. Work in small sections to prevent the adhesive from drying before the tiles are set.
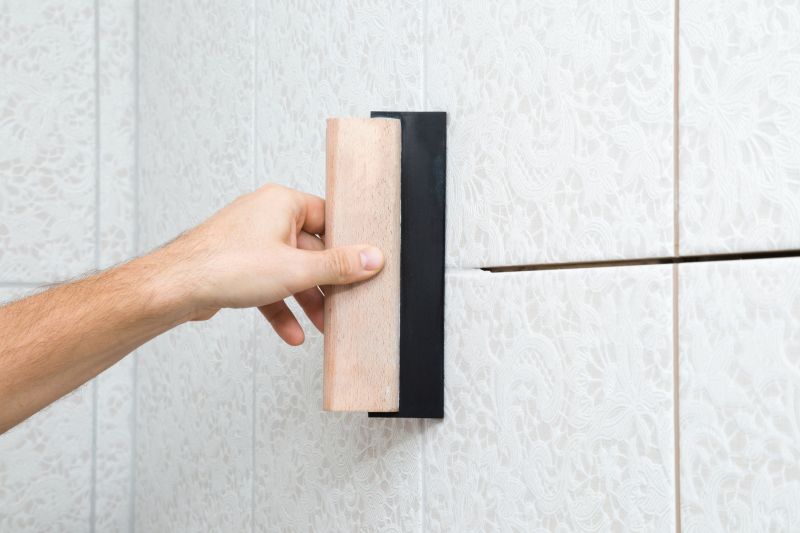
After all the tiles are in place, allow the adhesive to cure for the recommended time. Once cured, remove the spacers and begin grouting. Apply the grout with a rubber float, pressing it into the gaps between the tiles. Wipe away excess grout with a damp sponge, taking care not to disturb the grout lines.
- Gather all necessary materials and tools.
- Prepare the shower wall surface.
- Plan and dry-fit the tile layout.
- Apply adhesive and set tiles in place.
- Allow adhesive to cure and apply grout.
- Clean and finish the tiled surface.
Finally, clean the tiles with a dry cloth to remove any remaining grout haze. Once the tiles and grout have fully cured, the shower is ready for use. Properly installed shower tiles not only enhance the aesthetics of a bathroom but also contribute to its durability and ease of maintenance.


