Guide to Proper Shower Installation
Proper shower installation is essential for safety, efficiency, and longevity of your bathroom fixtures.
Explore various shower options including walk-in, corner, and shower-tub combos to fit your space and style.
Ensure you have essential tools like a drill, level, pipe wrench, and silicone sealant for a smooth setup.
Clear the space, check for levelness, and ensure proper plumbing connections before beginning.
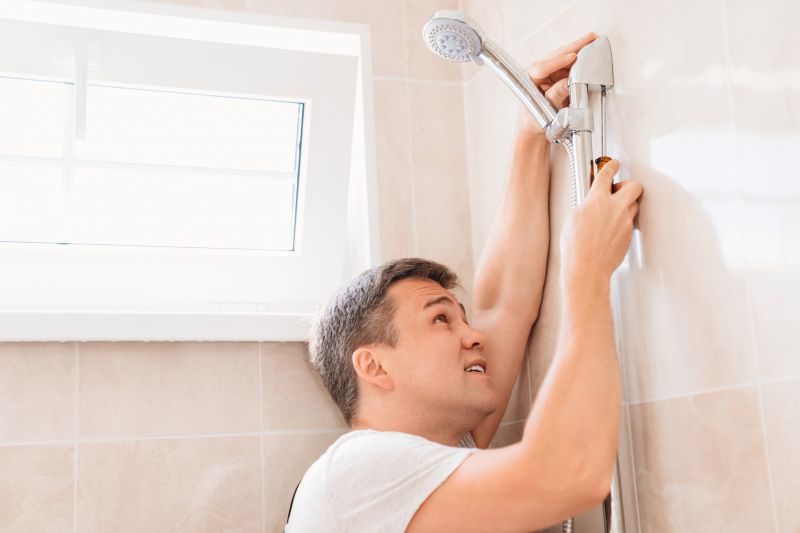
Step-by-step process for setting the shower base securely.
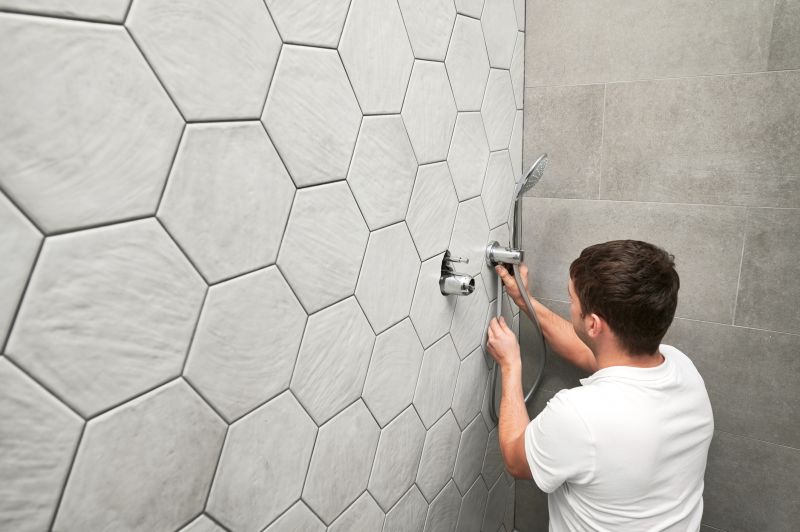
Tips on attaching panels and sealing edges.
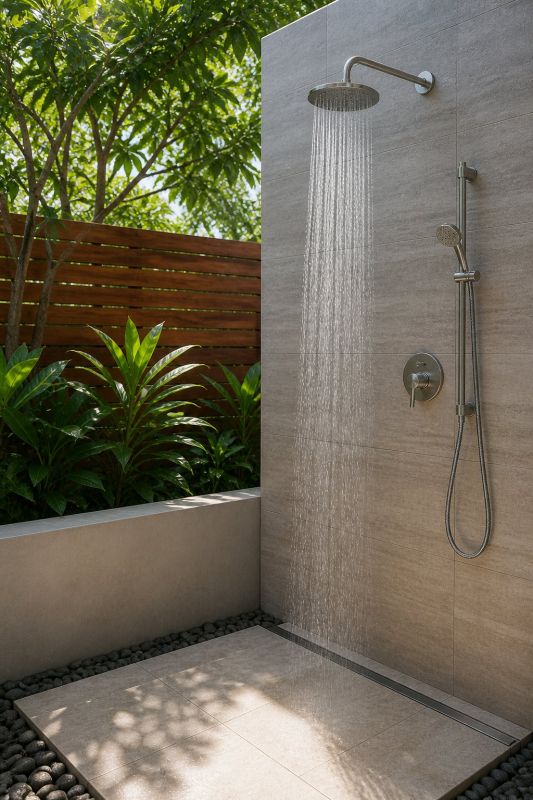
Properly attach and seal water inlet connections.
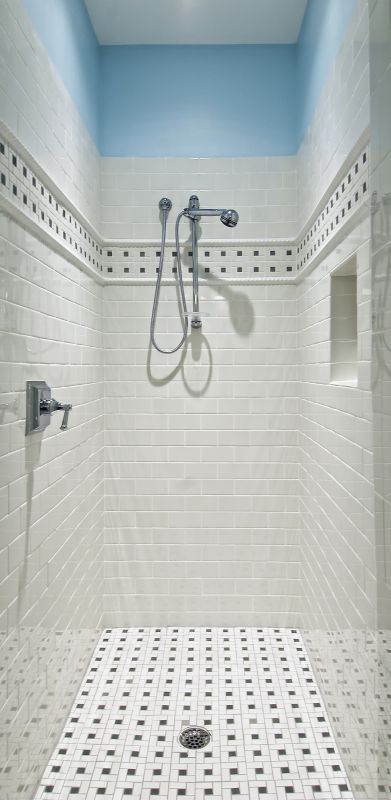
Ensure waterproof seals around edges and joints.
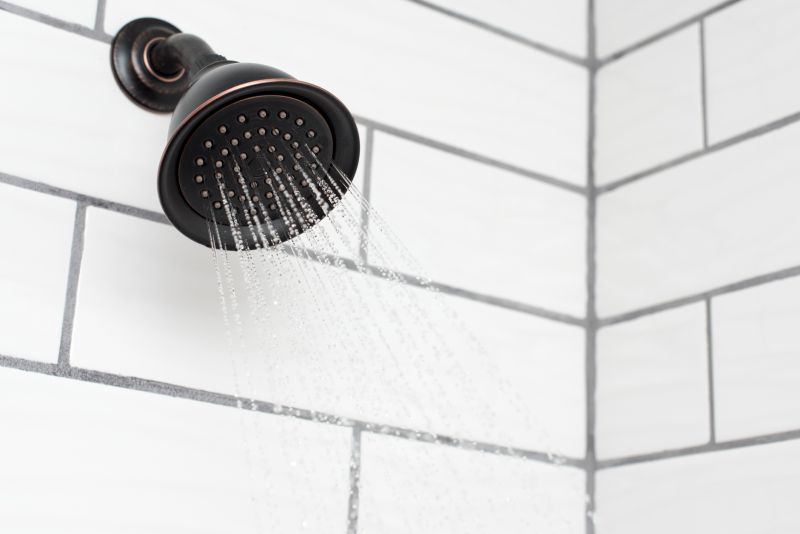
Guidelines for proper alignment and secure mounting.
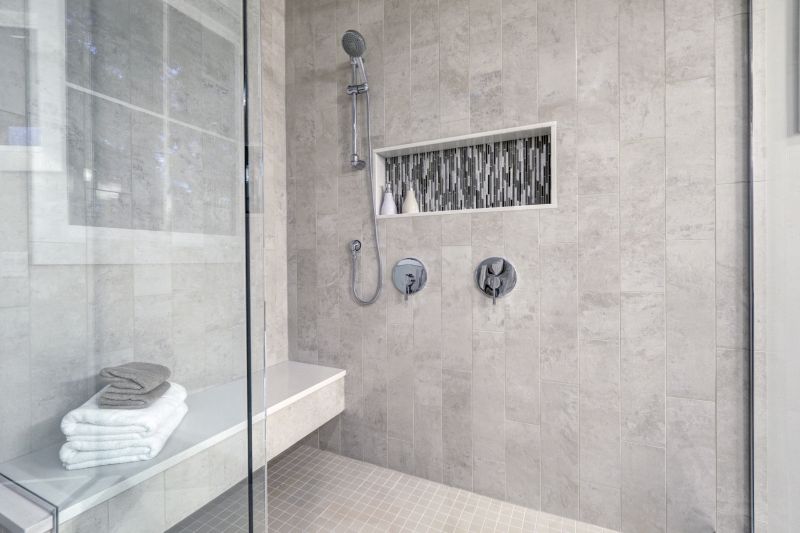
Check all connections for leaks before finishing.
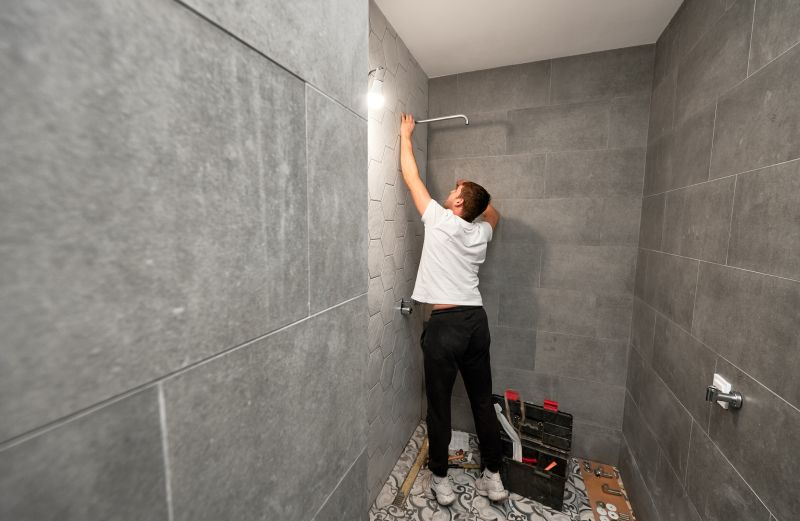
Add trim, handles, and accessories for a complete look.
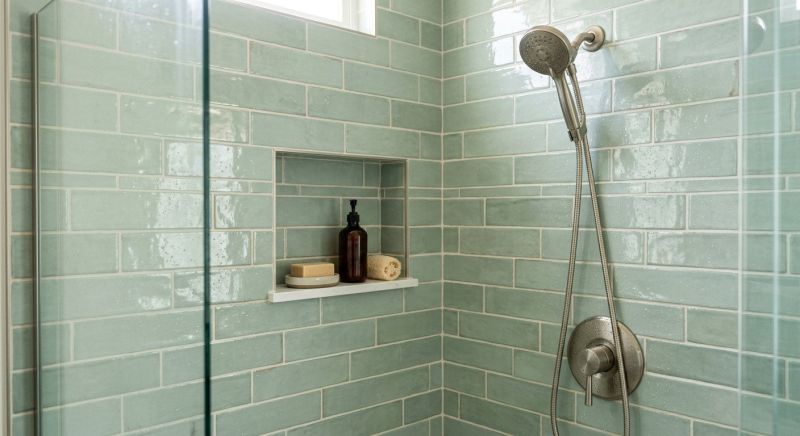
Avoid pitfalls like improper sealing or misaligned panels.
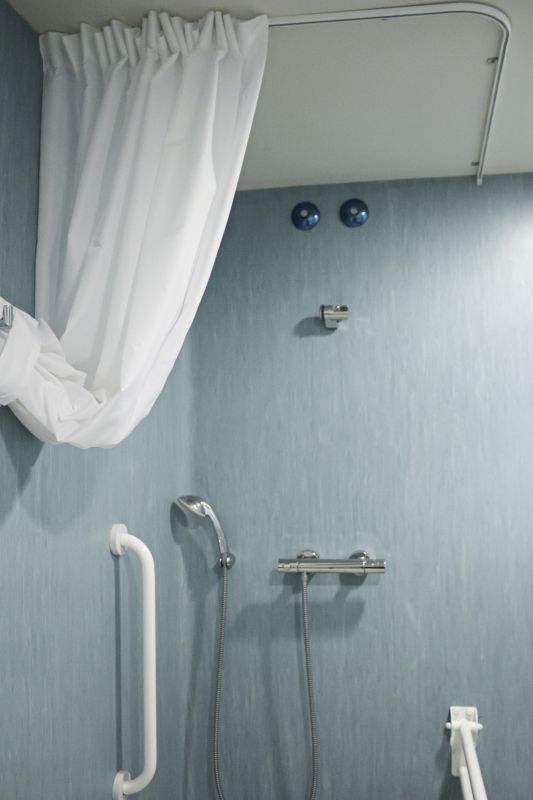
Keep your shower in top condition with regular cleaning and inspections.
| Step | Description |
|---|---|
| Preparation | Clear the area and gather all necessary tools and materials. |
| Base Installation | Set and level the shower base securely on the floor. |
| Wall Paneling | Attach shower walls and ensure proper sealing. |
| Plumbing Connections | Connect water supply lines and test for leaks. |
| Door and Fixture Installation | Mount doors, handles, and other fixtures. |
| Sealing and Finishing | Apply sealant around edges and complete finishing touches. |
| Final Inspection | Check for leaks, stability, and overall functionality. |
Choosing the appropriate shower enclosure and accessories can significantly enhance the functionality and aesthetic of your bathroom.
Options include glass doors, curtains, or open designs based on your space.
Ensure your plumbing can support the desired shower head for optimal performance.
Non-slip surfaces and grab bars improve safety during use.