Expert Guide to Shower Tile Installation
Installing tiles in a shower requires precision and proper planning to ensure durability and aesthetic appeal. Understanding the process helps in achieving professional results.
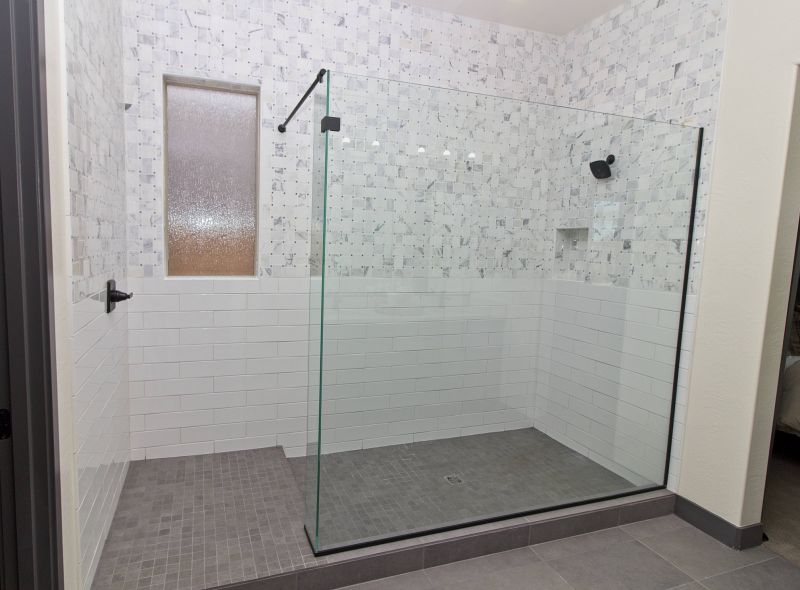
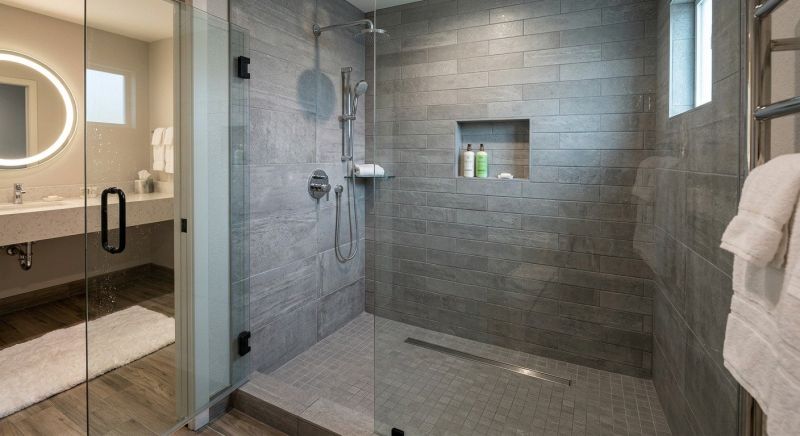
Select tiles that are water-resistant and suitable for wet environments to ensure longevity and ease of maintenance.
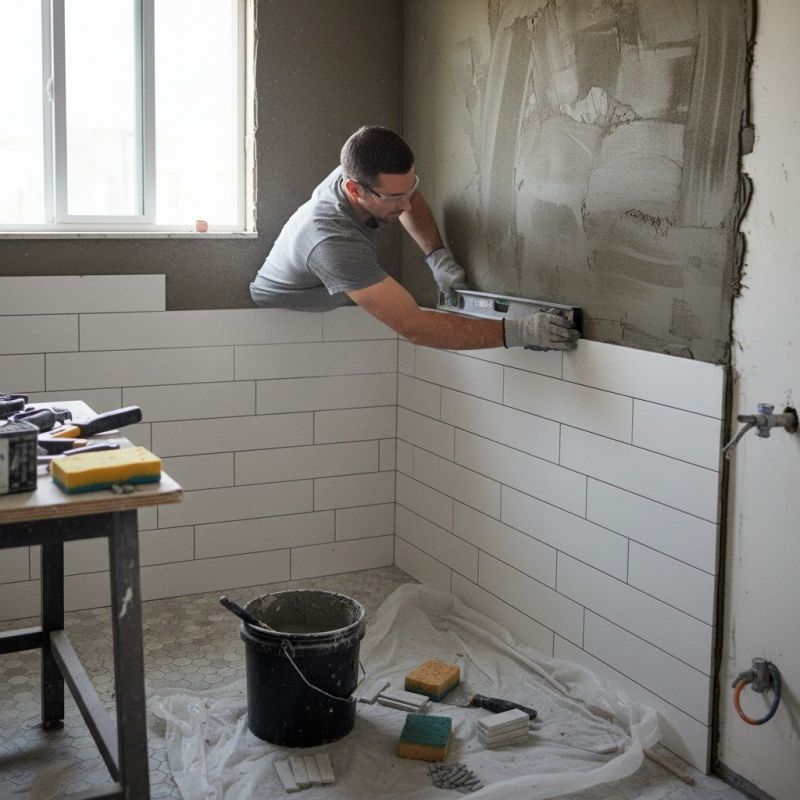
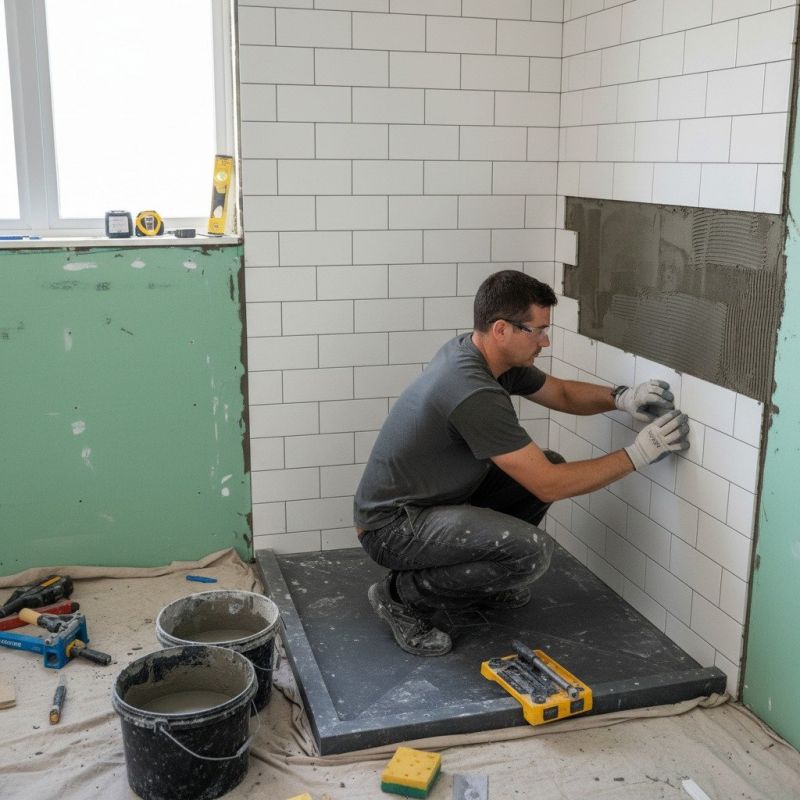
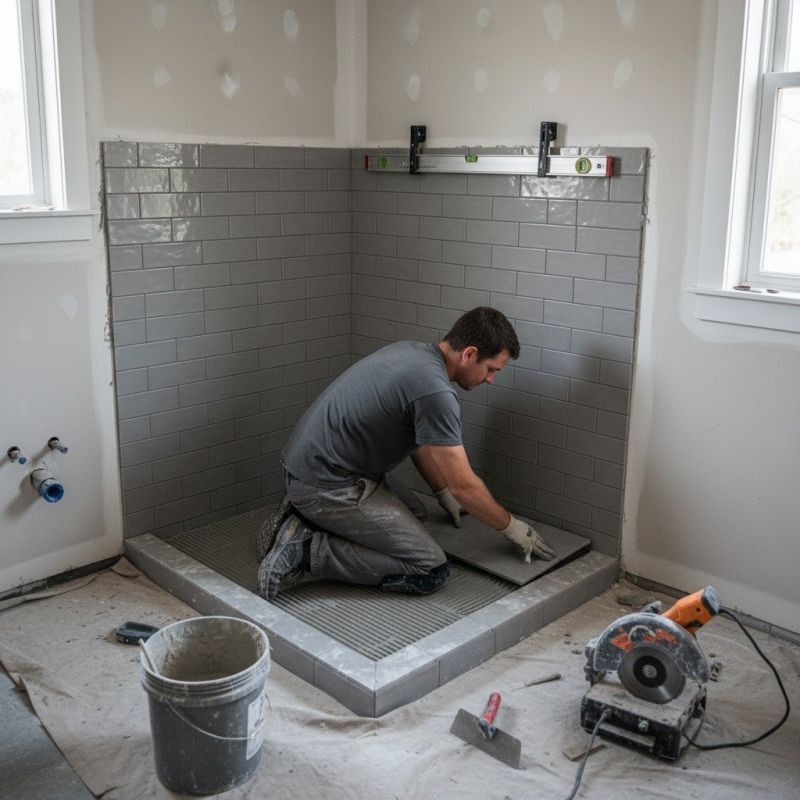
Proper surface preparation is crucial for tile adhesion, including cleaning, leveling, and applying a primer if necessary.
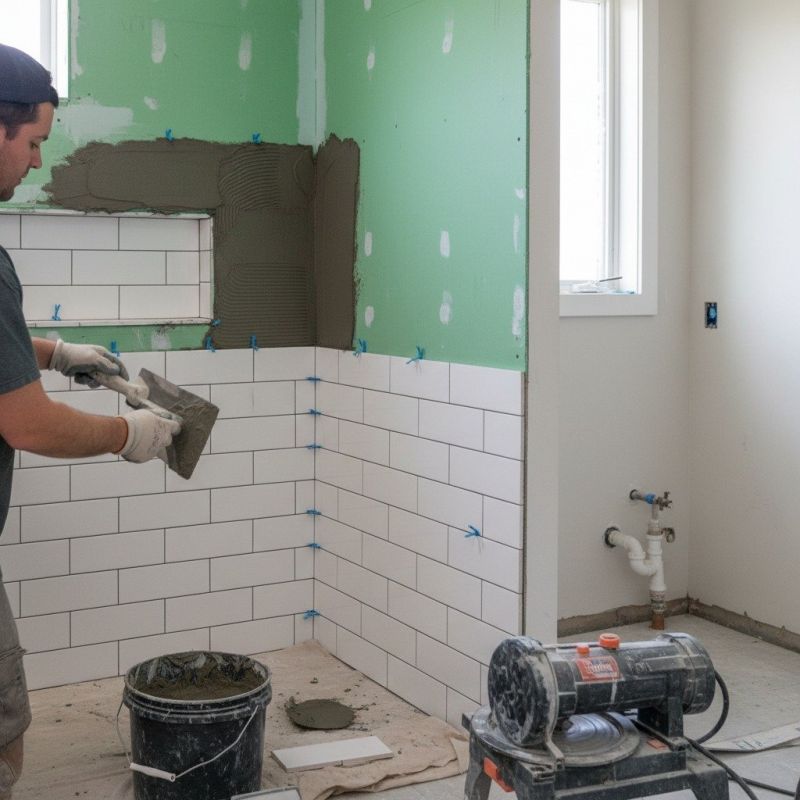
Use the appropriate adhesive for your tile type and ensure even application for a secure fit.
Sealing prevents water penetration and mold growth, extending the life of your shower tiles.
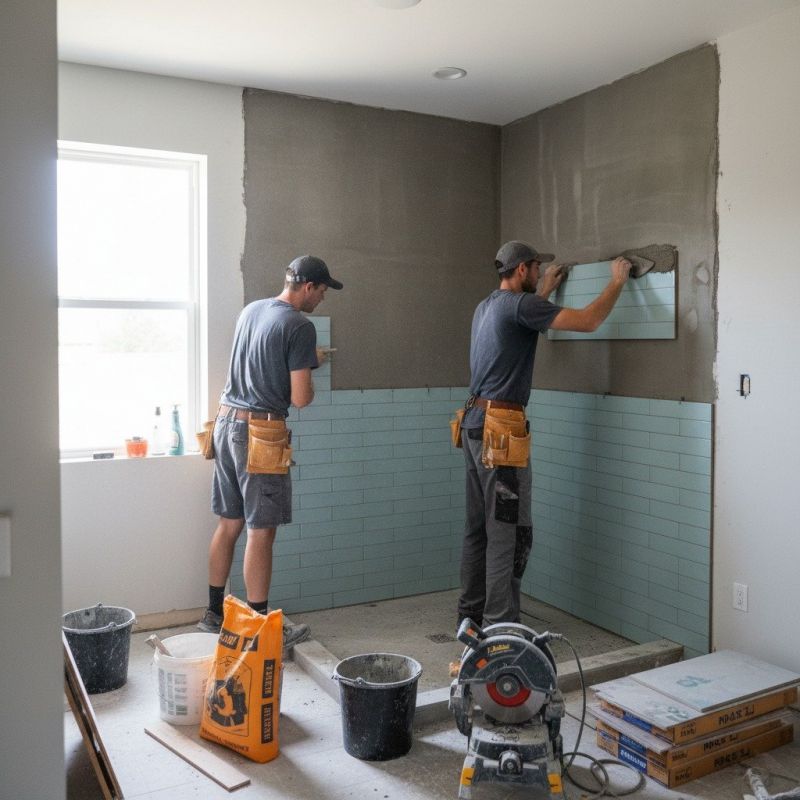
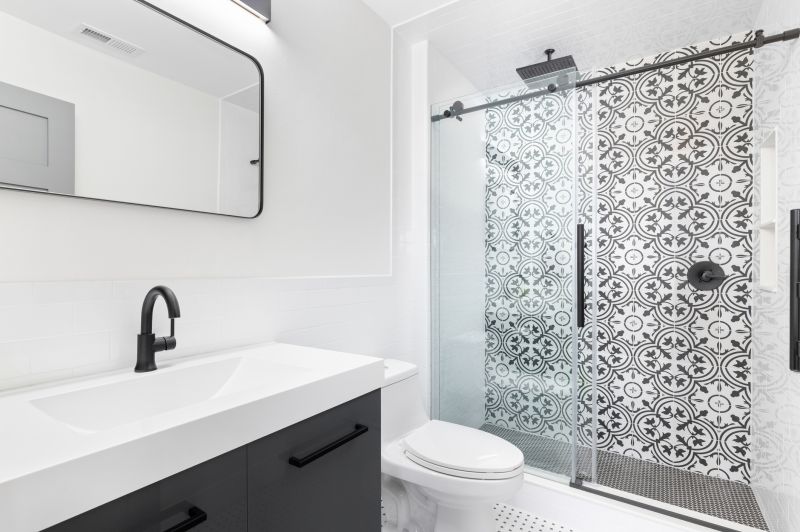
Plan your tile layout before installation to achieve a balanced and visually appealing pattern.
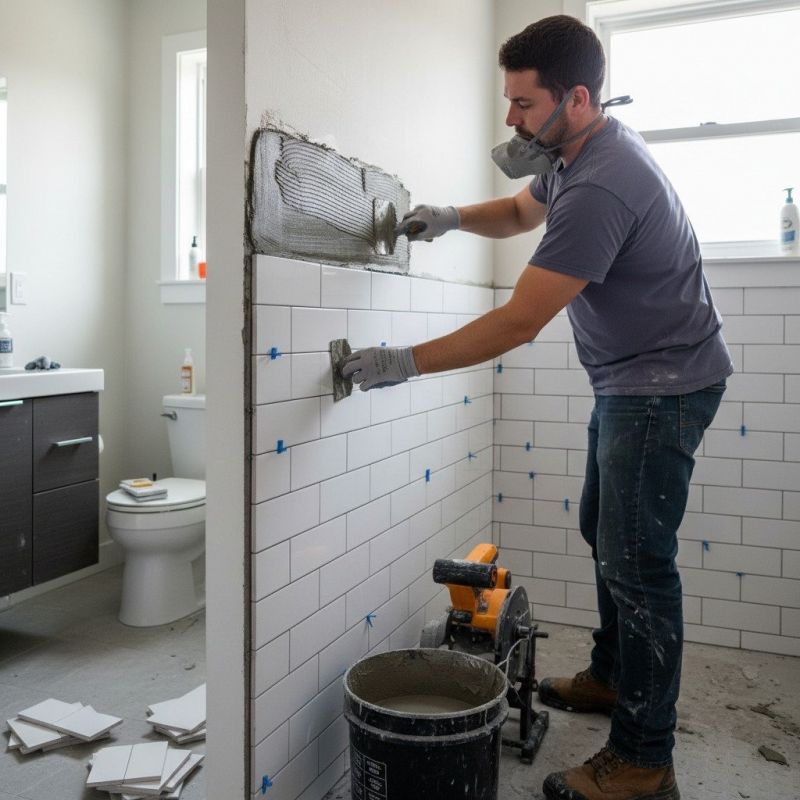
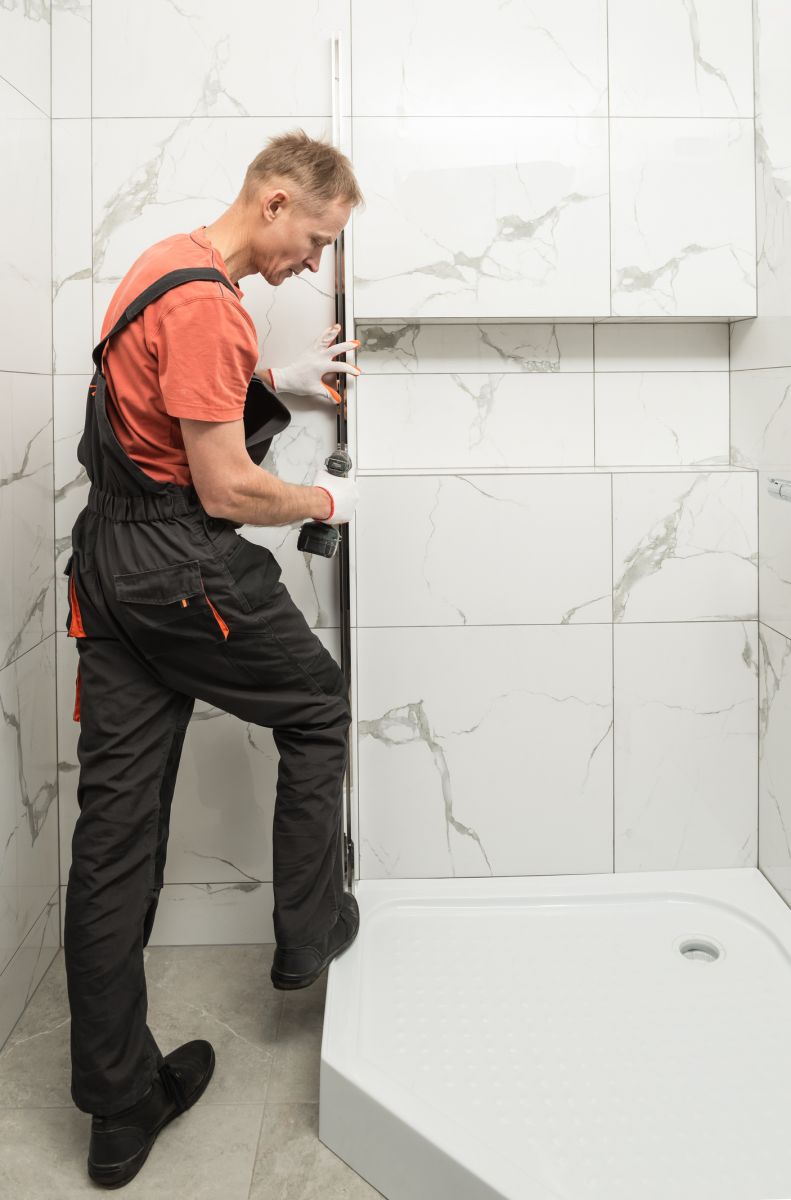
Use specialized tools to make clean cuts around fixtures and corners for a seamless finish.
Fill the spaces between tiles with grout, ensuring no gaps remain for water protection.
Ways to make Shower Installation - Tiles work in tight or awkward layouts.
Popular materials for Shower Installation - Tiles and why they hold up over time.
Simple add-ons that improve Shower Installation - Tiles without blowing the budget.
| Step | Description |
|---|---|
| Surface Preparation | Clean and level the shower surface to ensure proper tile adhesion. |
| Tile Layout Planning | Arrange tiles to determine the best pattern and cutting points. |
| Applying Adhesive | Spread adhesive evenly and place tiles carefully. |
| Setting Tiles | Press tiles firmly and use spacers for uniform grout lines. |
| Grouting | Apply grout between tiles and clean excess for a smooth finish. |
| Sealing | Seal grout lines to prevent water infiltration. |
| Curing Time | Allow sufficient time for adhesive and grout to set before use. |
Proper maintenance of shower tiles involves regular cleaning and resealing grout lines periodically. This helps preserve the appearance and prevents water damage over time.
Avoid uneven spacing, improper surface prep, and rushing the curing process to ensure a professional finish.
Essential tools include a tile cutter, notched trowel, level, spacers, and grout float.
Select a grout type suitable for wet areas, such as epoxy or cement-based grout.
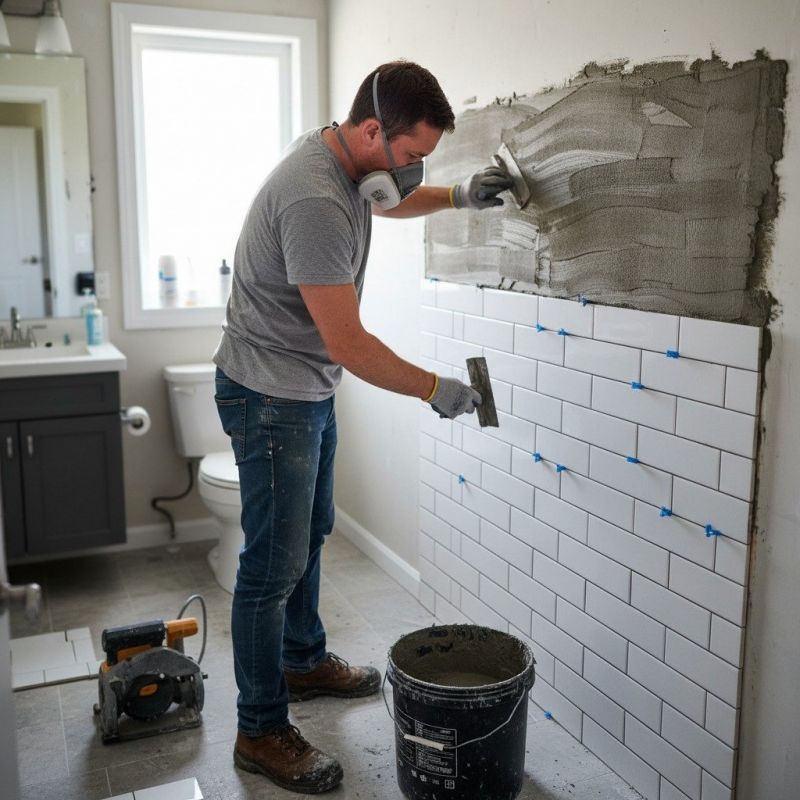
Applying adhesive with a notched trowel ensures even coverage for strong bonding.
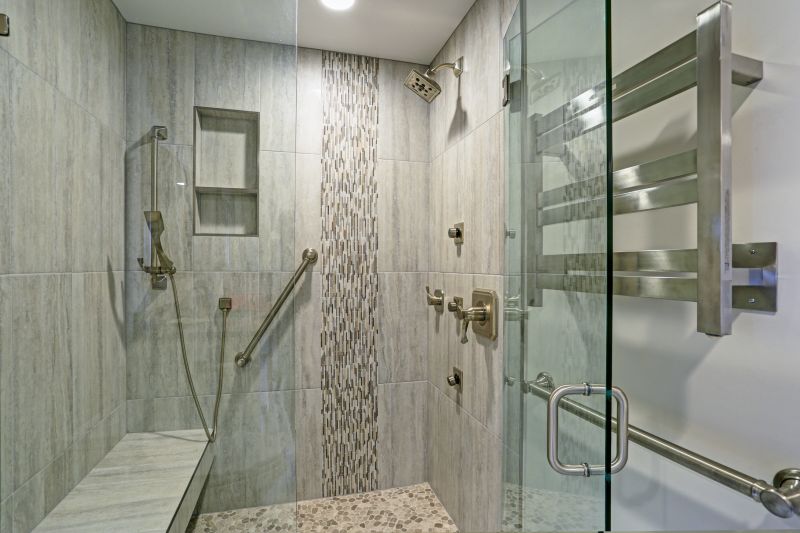
Sealing protects against moisture and staining, keeping your tiles looking new.
Using proper tools for cutting tiles ensures precise edges and a professional look.

Check for any loose tiles or gaps and make necessary adjustments before finishing.
High-end options that actually feel worth it for Shower Installation - Tiles.
Finishes and colors that play nicely with Shower Installation - Tiles.
Little measurements that prevent headaches on Shower Installation - Tiles day.

A 60-second routine that keeps Shower Installation - Tiles looking new.
Investing in quality materials and proper techniques ensures your shower tiles remain attractive and functional for years to come.