Shower Leak Repair
Welcome to Aberdeen Showers
Shower Leak Repair
About Shower Leak Repair
Shower leak repair is a crucial aspect of home maintenance that can prevent significant water damage and save on future expenses. Homeowners often encounter leaks in various parts of the shower, including faucets, showerheads, and the enclosure itself. Addressing these leaks promptly is essential to maintaining the integrity of the bathroom and avoiding mold growth or structural issues.
Identifying the source of a shower leak is the first step in the repair process. Leaks can originate from several areas, such as the showerhead, faucet, or even the grout and seals around the shower enclosure. Understanding the common signs of a leak, like water stains on the ceiling below the shower or damp patches on walls, can help in early detection.
Once the source of the leak is identified, homeowners have several options for repair. Replacing worn-out washers or seals in the showerhead or faucet can often resolve minor leaks. For leaks originating from the shower enclosure, re-caulking or replacing damaged grout may be necessary. Each type of repair requires careful attention to detail to ensure the leak is fully resolved.
When considering repairs, it is important to choose the right materials. High-quality, water-resistant caulk and grout can provide long-lasting protection against future leaks. Additionally, selecting durable fixtures that withstand regular use can reduce the likelihood of recurring leaks.
Regular maintenance can also play a significant role in preventing shower leaks. Inspecting the shower area periodically for signs of wear and tear, such as cracks in the grout or loose tiles, allows homeowners to address potential issues before they develop into significant problems.
For those planning to upgrade their shower, considering water-efficient fixtures can be beneficial. These fixtures not only help conserve water but also reduce the pressure on plumbing systems, minimizing the risk of leaks over time. Opting for fixtures with a solid reputation for durability can further enhance the longevity of the shower system.
In summary, shower leak repair involves identifying the source of the leak, selecting appropriate repair methods, and using quality materials. Regular maintenance and thoughtful upgrades can prevent future leaks and extend the life of the shower system. By taking proactive measures, homeowners can ensure their bathrooms remain functional and aesthetically pleasing for years to come.
- Identify the source of the leak
- Choose the appropriate repair method
- Select high-quality materials
- Consider water-efficient fixtures
- Conduct regular maintenance checks
Identifying the Source of a Shower Leak
Techniques and Tools for Accurate Leak Detection
Shower leaks can be an annoying and potentially costly problem for homeowners. Identifying the source of a leak is crucial to prevent water damage and ensure that repairs are effective. Understanding the common causes and signs of shower leaks can help in pinpointing the problem area and taking appropriate action.
One of the first steps in identifying a shower leak is to observe any visible signs of water damage. This may include discoloration or peeling paint on walls and ceilings adjacent to the shower, as well as damp or warped flooring. These indicators often suggest that water is escaping from the shower area and seeping into other parts of the home.
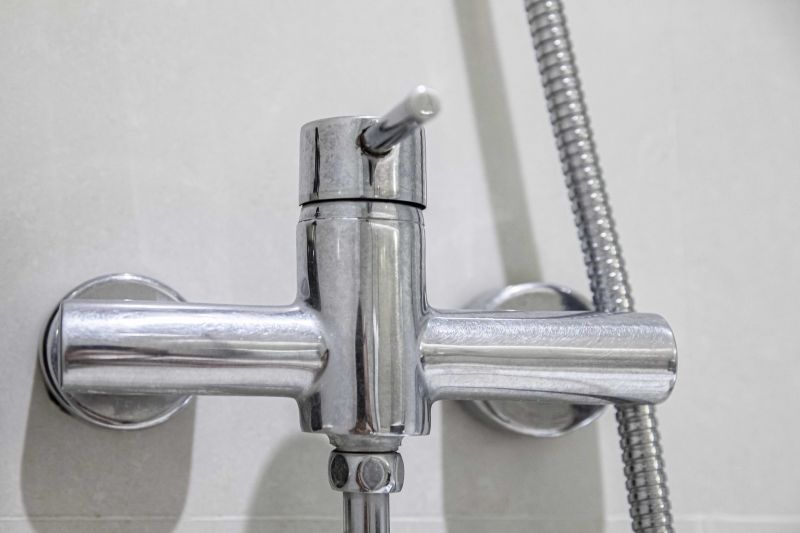
Another important area to inspect is the showerhead and its connections. A loose or damaged showerhead can lead to water escaping from unintended areas. Check for any drips or leaks around the showerhead when the water is turned off, as this can indicate a problem with the fixture or its seals.
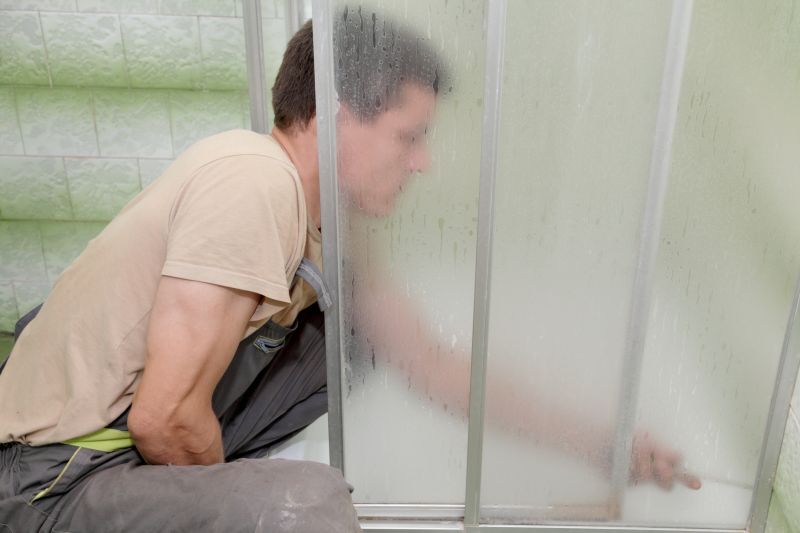
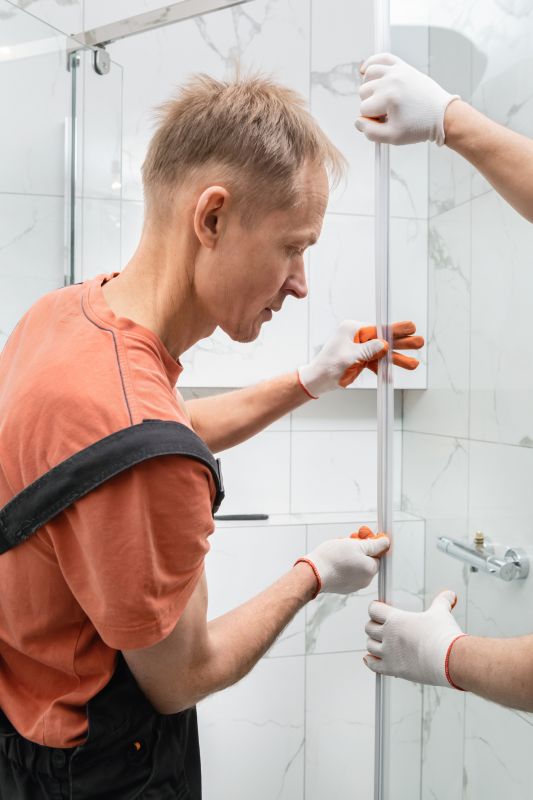
The shower door or curtain is another potential source of leaks. Ensure that the door is closing properly and that the seal is intact. Water pooling outside the shower can often be traced back to a faulty door seal or an improperly installed shower curtain. Replacing worn-out seals or adjusting the curtain can often resolve these issues.
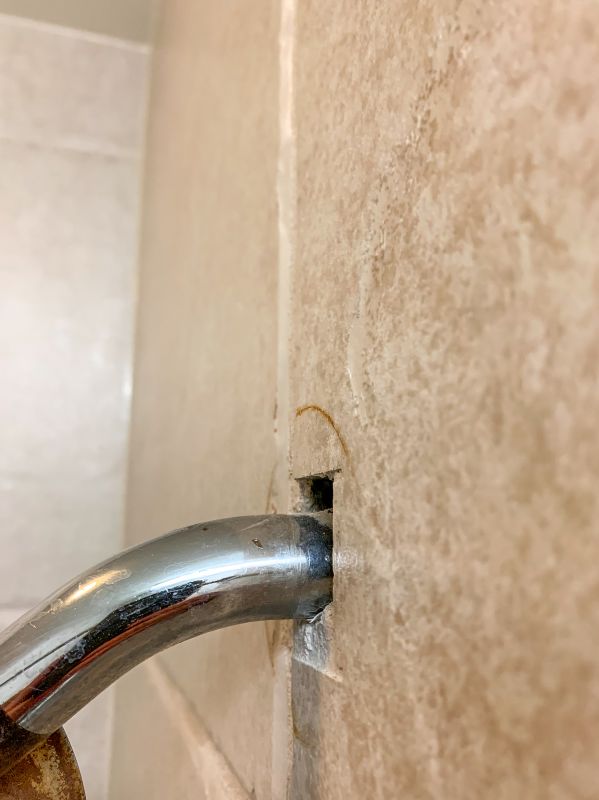
Inspecting the grout and caulking around tiles is also essential. Over time, grout can crack and caulking can deteriorate, allowing water to seep into the walls behind the tiles. Look for missing or damaged grout lines or caulk that is peeling away from the edges. Re-grouting or re-caulking these areas can help prevent leaks and protect against further damage.
It's also beneficial to examine the shower pan or base. Cracks or imperfections in the shower base can lead to leaks that are not immediately visible. Conducting a water test by plugging the drain and filling the shower base with water can help determine if the base is the source of the leak.
- Check for water damage on adjacent walls and ceilings.
- Inspect the showerhead and its connections for drips.
- Ensure the shower door or curtain is sealing properly.
- Examine grout and caulking for cracks or deterioration.
- Test the shower pan for leaks by filling it with water.
By carefully examining these areas, homeowners can identify the source of a shower leak and take necessary steps to address the issue. Early detection and intervention can prevent extensive water damage and maintain the integrity of the home.
DIY Shower Leak Repair: Step-by-Step Guide
Comprehensive Instructions for Fixing Common Shower Leaks
Shower leaks can lead to significant water damage and increased utility bills if not addressed promptly. Fortunately, fixing common shower leaks can be a straightforward process. This article provides a detailed approach to identifying and repairing typical shower leaks, ensuring your bathroom remains dry and functional.
Before starting any repair, it's crucial to identify the source of the leak. Common culprits include worn-out seals, cracked tiles, or faulty showerheads. Begin by inspecting the showerhead and its connections. If the leak stems from the showerhead, it might be due to loose fittings or a worn-out washer. Tightening connections or replacing the washer can often resolve the issue.
If the leak persists, examine the grout and caulk around the shower tiles. Over time, these materials can deteriorate, allowing water to seep through. Scrape away any old, damaged grout or caulk and apply a fresh layer. Ensure the area is clean and dry before applying new material to promote a strong bond.
For leaks originating from the shower floor, inspect the tiles for cracks or damage. Replace any broken tiles and ensure the underlying waterproof membrane is intact. If the membrane is compromised, it may require more extensive repairs, such as resealing the entire shower base.
Another potential source of leaks is the shower door. Check the door seals and hinges for wear and tear. Replacing damaged seals or adjusting the door alignment can prevent water from escaping the shower enclosure. Regular maintenance of these components can prolong their lifespan and prevent future leaks.
- Inspect showerhead and connections
- Check grout and caulk around tiles
- Examine shower floor and tiles
- Assess shower door seals and hinges
In conclusion, addressing shower leaks promptly can prevent extensive damage and maintain the integrity of your bathroom. Regular inspection and maintenance of shower components can help catch potential issues early, ensuring a hassle-free shower experience. By following these steps, homeowners can tackle common shower leaks with confidence.